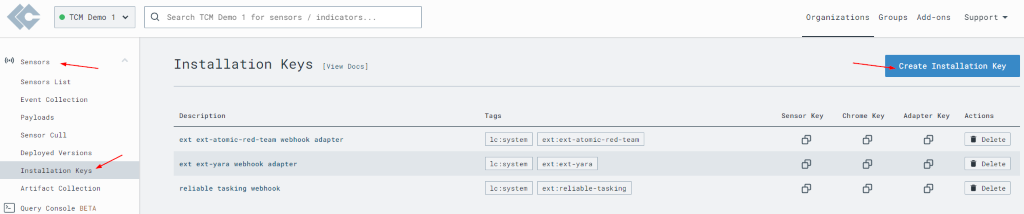
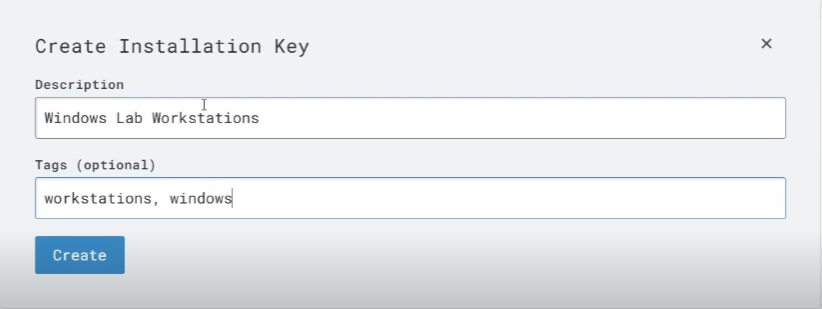
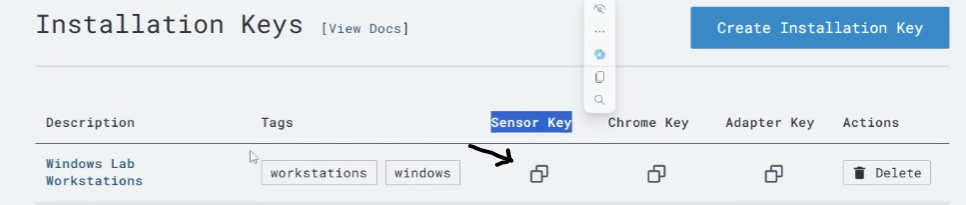
Go to Sensors > Installation Keys > click on Create Installation Key
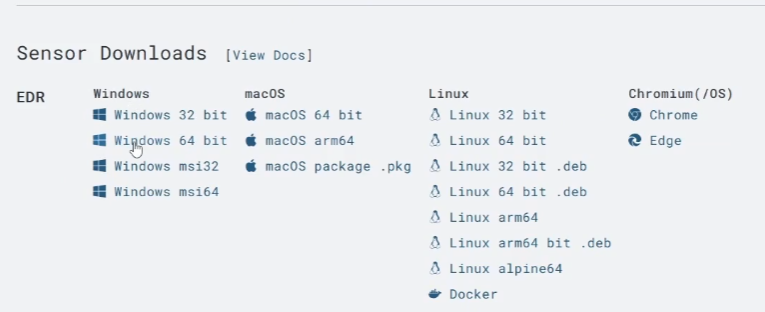
Now we need to download our sensor, in this case we will be using Windows 64 bit
Once downloaded we will proceed with the installation
We will need to copy our Sensor Key
Now we can open PowerShell and go to the folder where our installation file is located
We will use :
filepath -i sensorkey


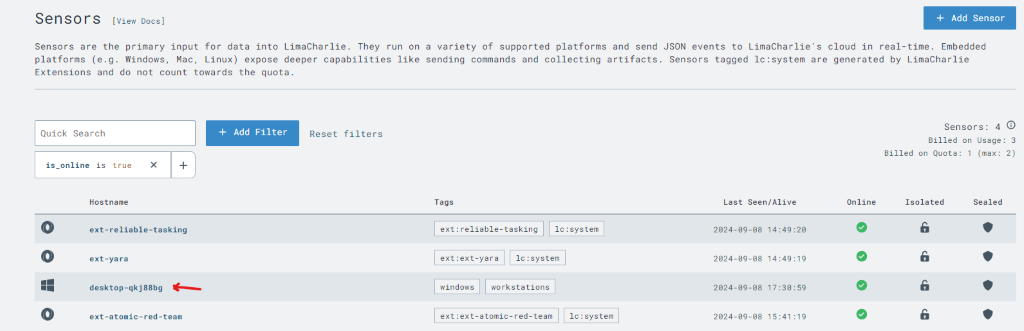
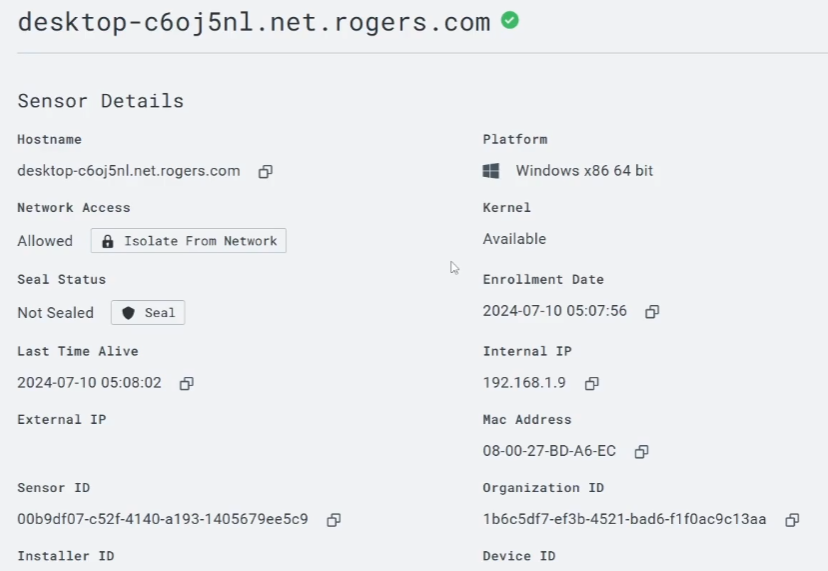
If we head back to LimaCharlie, we can see our windows VM sensor is online