
Step by step example of a credentialed scan on a target VM with vulnerable software installed on it in my lab environment.
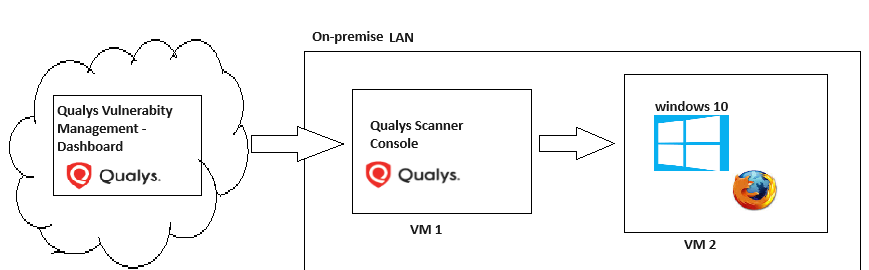
Scenario:
Qualys Cloud:
– Qualys community edition
On Premise LAN:
VM 1 : Qualys Scanner Console
VM 2 : Windows 10 with vulnerable Firefox version installed
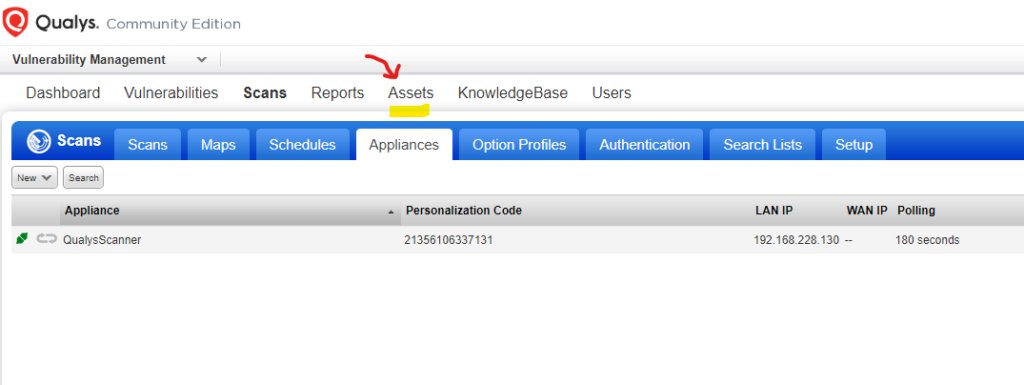
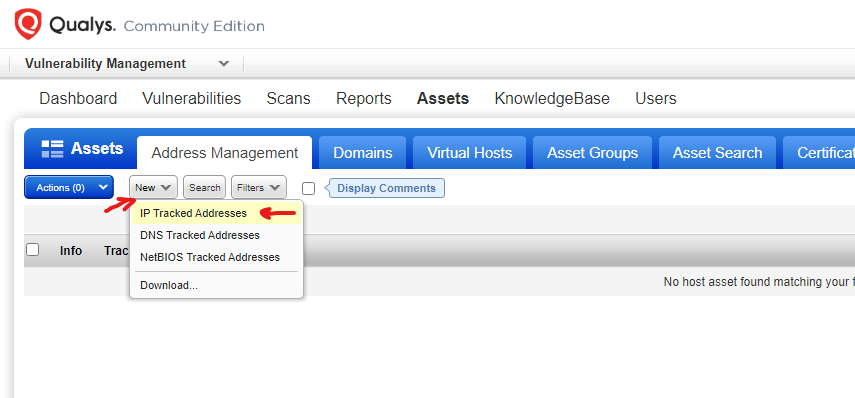
Click on Assets > Address Management > New > IP Tracked Addresses
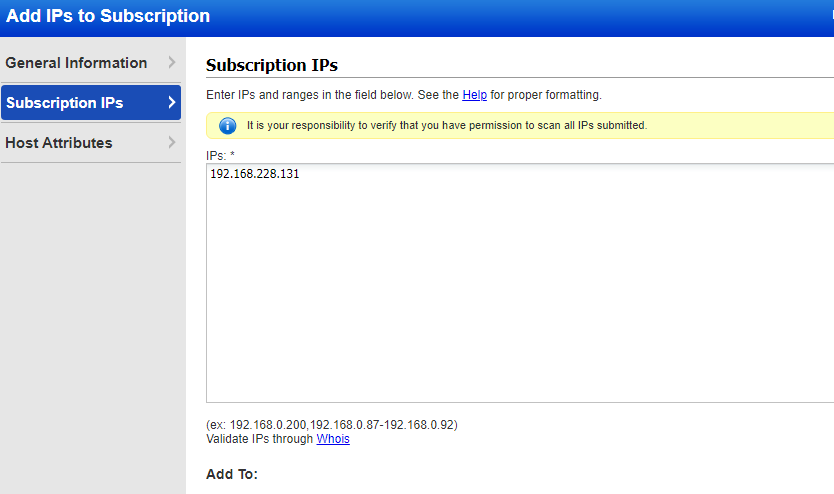
Enter IP address of target machine to be be scanned, in my case it will be Windows 10 VM (with a vulnerable Firefox 45.0.1 browser installation for testing purposes), click the add button.
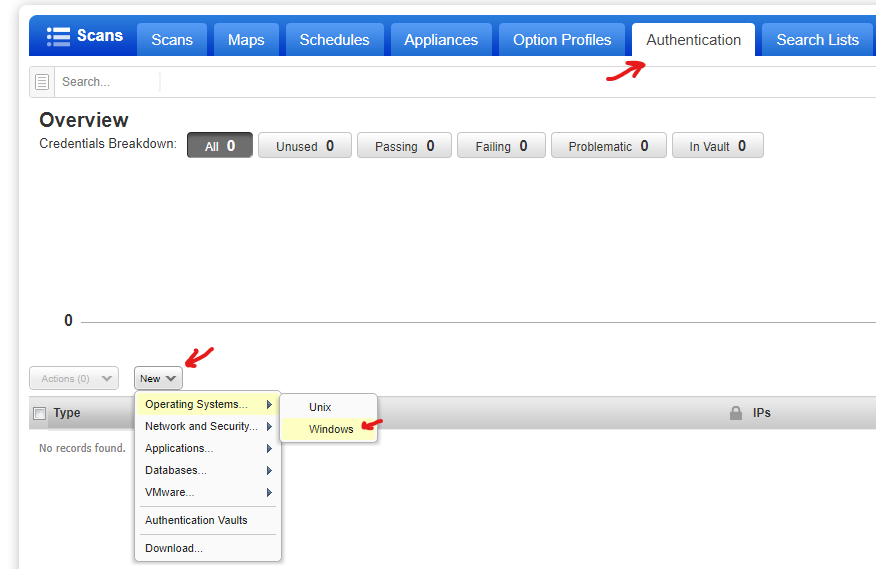
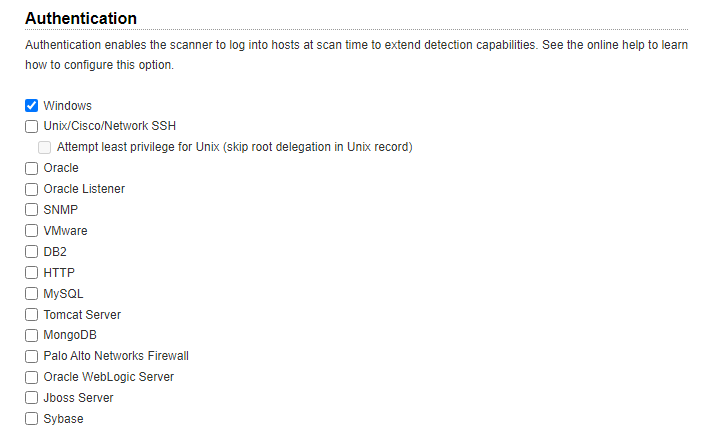
Now we will go to Authentication tab > New > OS > Windows
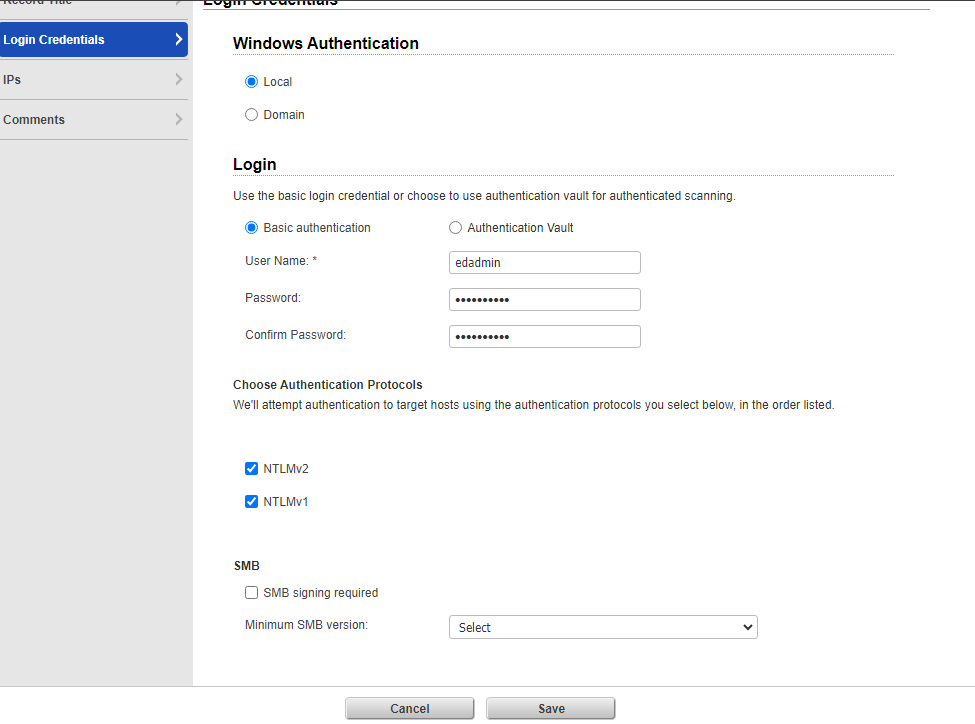
Here we will enter our Windows VM credentials for a credentialed scan, go ahead and configure as per your requirements and hit save.
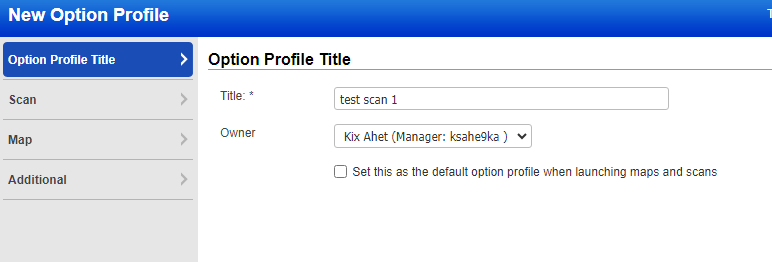
Now we will go to the Scans tab > Option profiles > New > Option profile
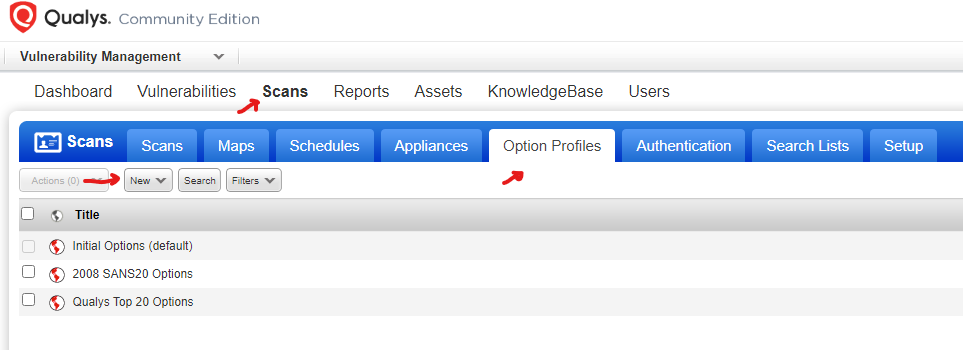
Enter your preferred configuration, I will leave the configuration standard and will choose credentialed scan for Windows OS as seen on screenshots below, click save.
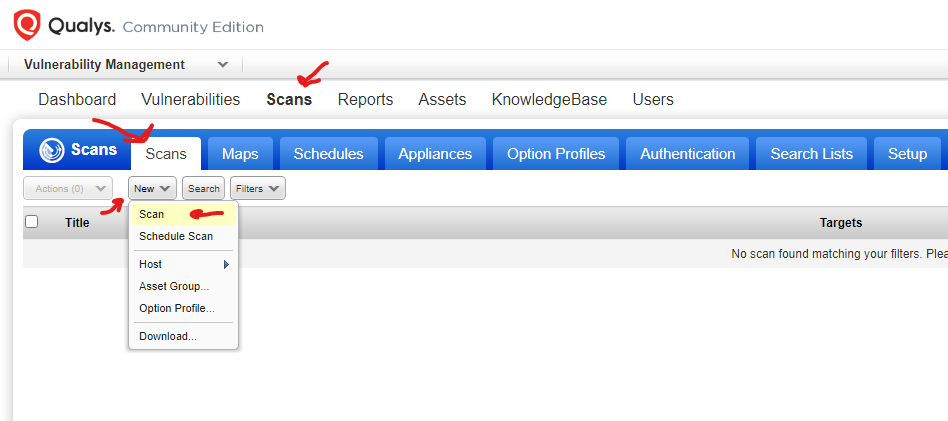
Once saved, we can go to Scans tab > Scans > New > Scan
Enter your required configuration and hit launch scan.
*For authenticated scan to work in this scenario the following changes need to be made on the target local Windows 10 VM:
– Disable Windows Defender
– on the Windows machine go to services > remote registry > properties > change startup type to “Automatic”
– right click remote registry and click start
– go to user account control settings and select never notify
– on reg editor go to : Computer\HKEY_LOCAL_MACHINE\SOFTWARE\Microsoft\Windows\CurrentVersion\Policies\System
– right click select new DWORD and use the following values:
Value name: LocalAccountTokenFilterPolicy
Value data: 1

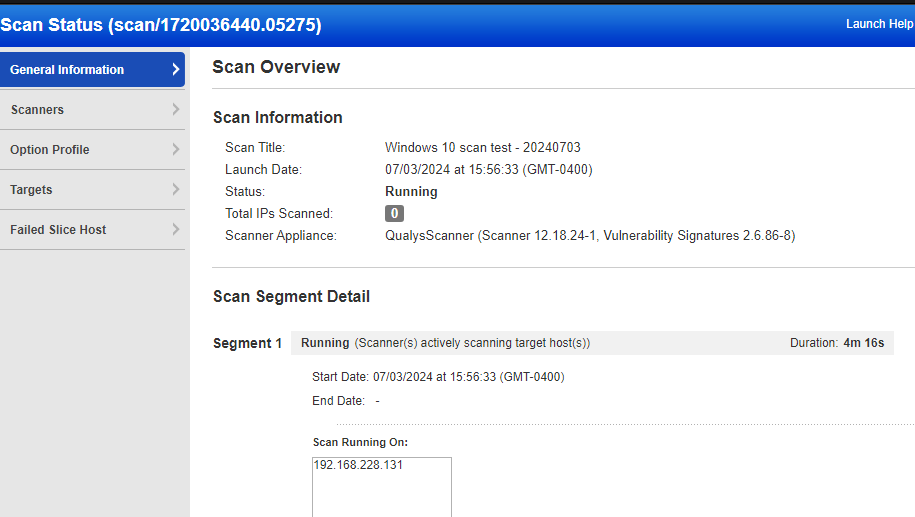
Scan status should show as running within a couple of minutes…
In the results we can se there are windows security update related vulnerabilities and we also found our vulnerable Firefox browser with many related vulnerabilities.
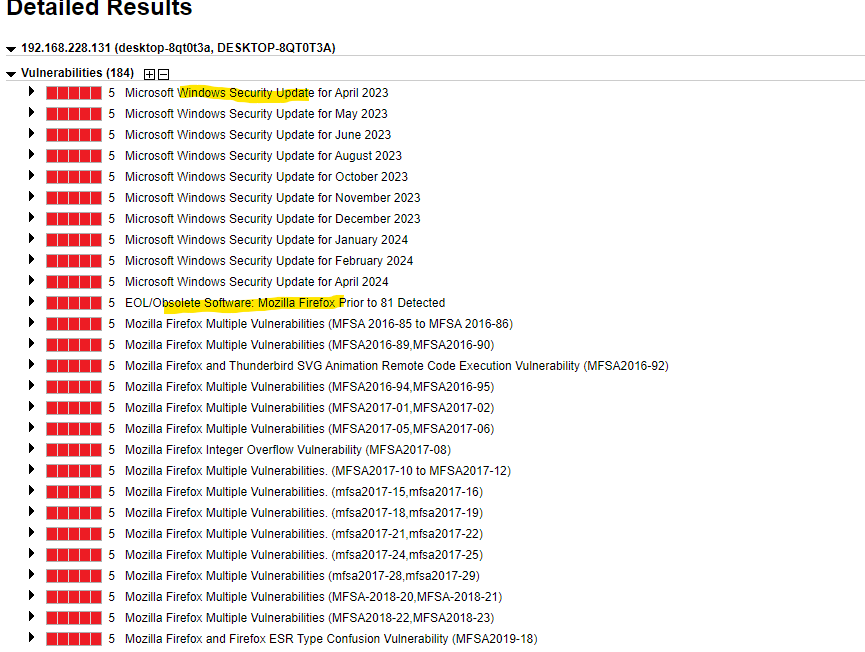
Qualys credentialed scan results:
38 Severity 5, 101 Severity 4 and 38 Severity 3 vulnerabilities detected.
Recommended remediation actions:
Update Windows to latest release, update vulnerable software to latest release (if not vulnerable) or remove vulnerable software from identified assets.