source: SC-200T00A-Microsoft-Security-Operations-Analyst
Part 1: Run the attack
In this guide we will simulate an attacker adding a new user on our victim machine, elevating the user to the administrator group. We will need to start cmd as administrator and run the following:
net user malicioususer1 /add
net user malicioususer1 ThePassword1!
net localgroup administrators malicioususer1 /add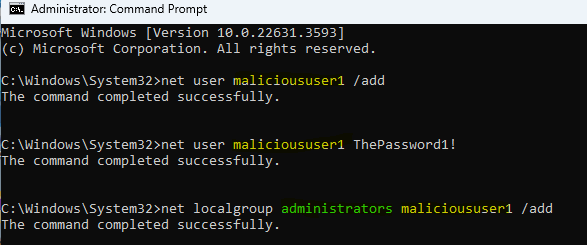
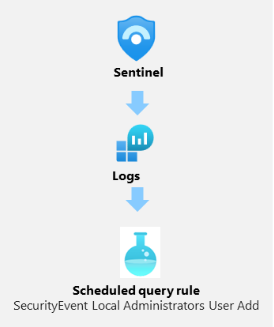
Part 2: Create the KQL query
We will now need to create our KQL statement in order to obtain the desired information of the attack, based on the KQL statement we can go ahead and create an Analytical rule and configure it to create an alert or an incident.
In the following query we will use event ID “4732 – A member was added to a security-enabled local group”
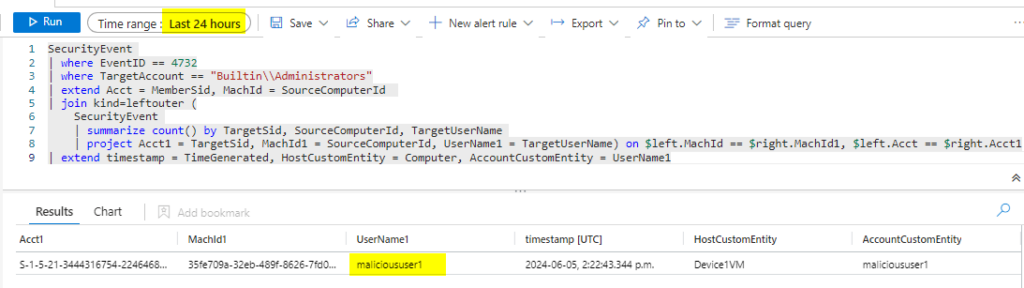
We will use the following query provided by the Microsoft Lab used for this guide:
SecurityEvent
| where EventID == 4732
| where TargetAccount == "Builtin\\Administrators"
| extend Acct = MemberSid, MachId = SourceComputerId
| join kind=leftouter (
    SecurityEvent
    | summarize count() by TargetSid, SourceComputerId, TargetUserName
    | project Acct1 = TargetSid, MachId1 = SourceComputerId, UserName1 = TargetUserName) on $left.MachId == $right.MachId1, $left.Acct == $right.Acct1
| extend timestamp = TimeGenerated, HostCustomEntity = Computer, AccountCustomEntity = UserName1
We can see we have a match in the last 24 hours
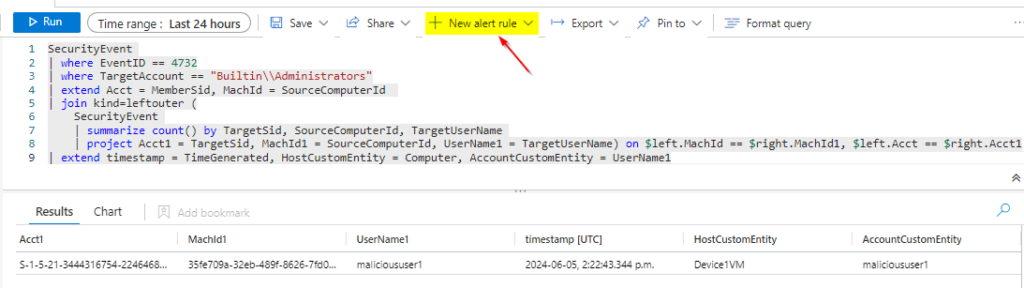
Part 3: Create Alert/Incident
We can now select + New alert rule > Create an Azure Sentinel alert
We will use the following settings:
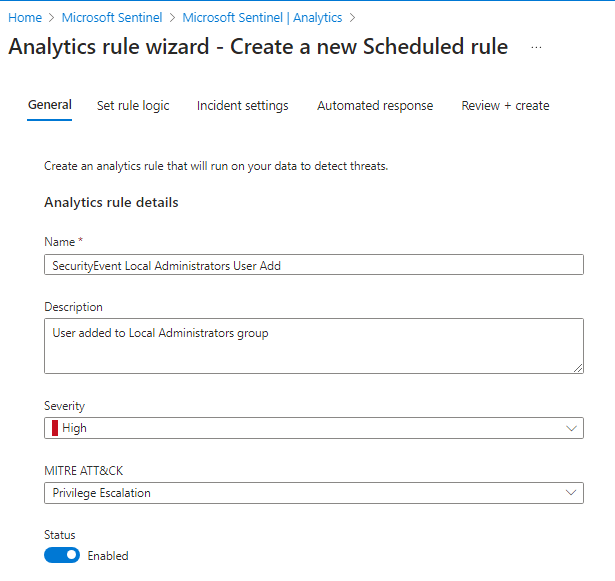
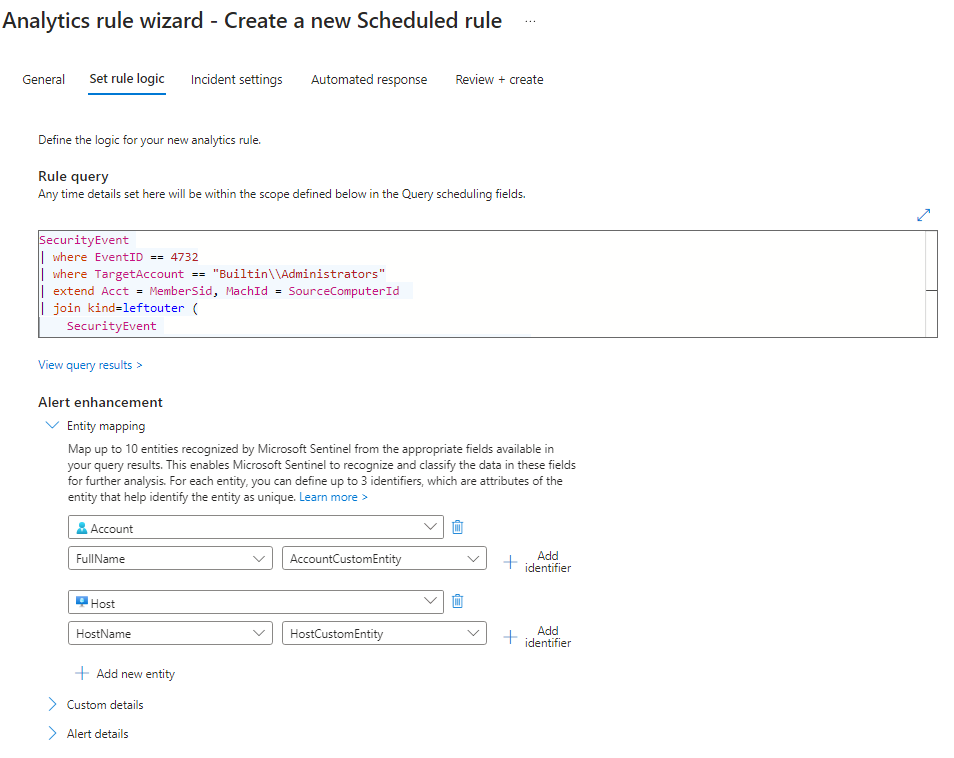
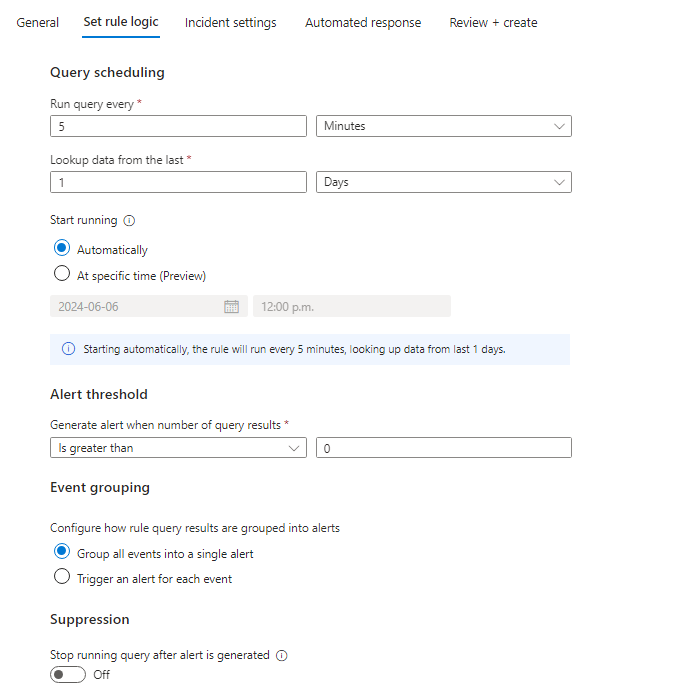
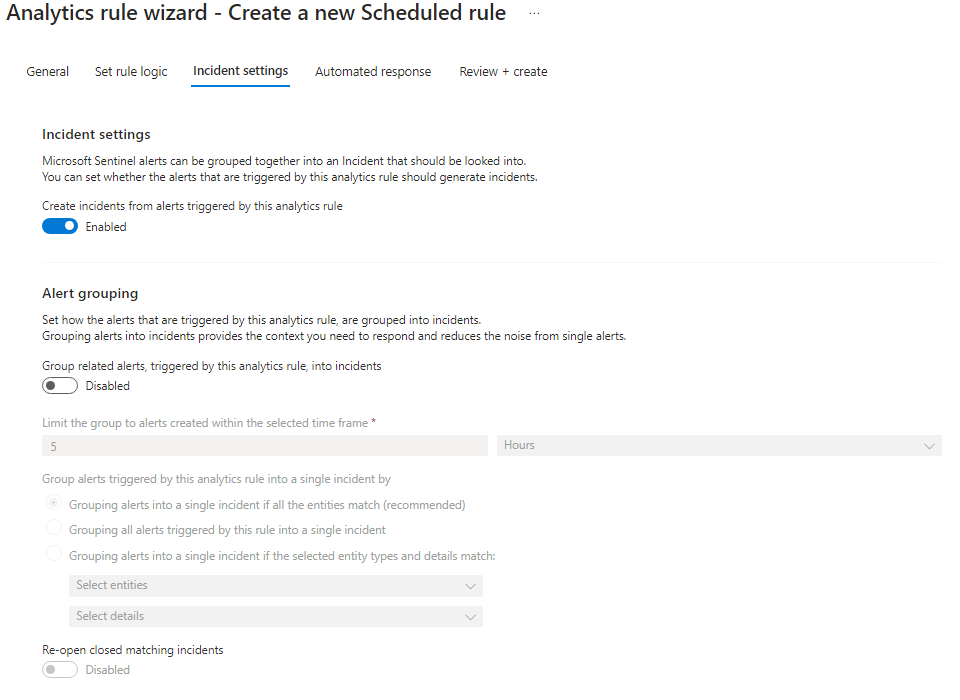
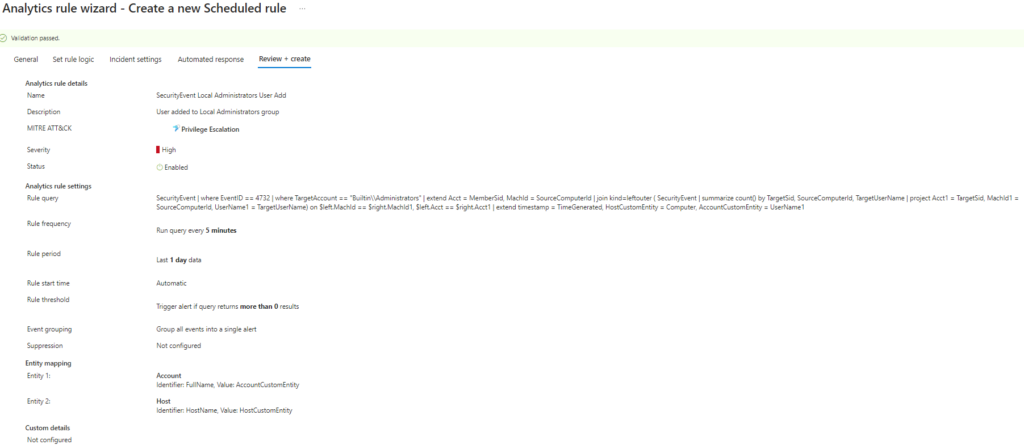
Review and Save
Now that our Analytics rule is saved it will run every 5 minutes as per our configuration so we should have an incident

Part 4: Incident triage
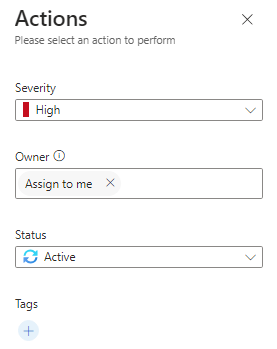
Select all incidents pertaining to “SecurityEvent Local Administrators User Add”, click on actions
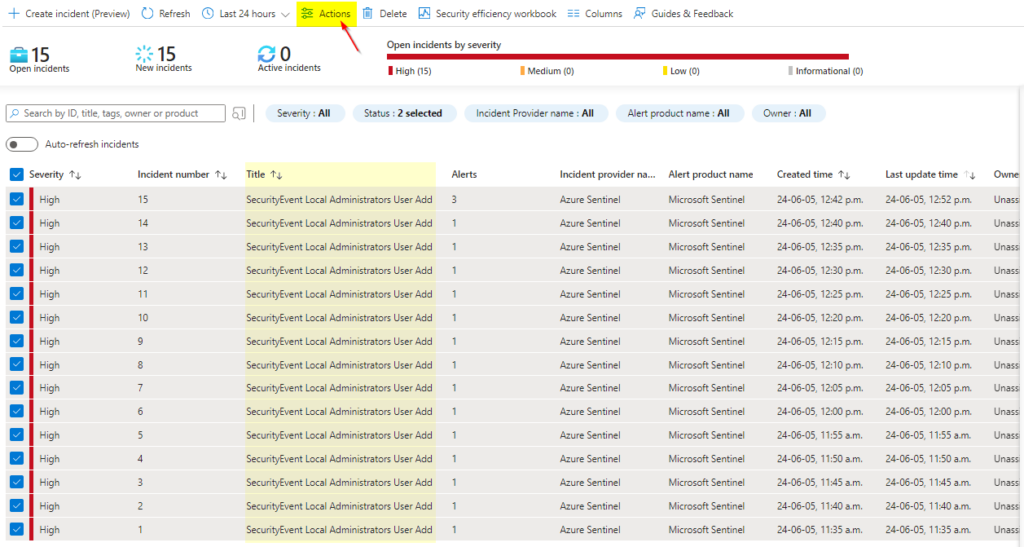
We will set Severity level to High, assign ownership to your self “Assign to me”, set status to Active
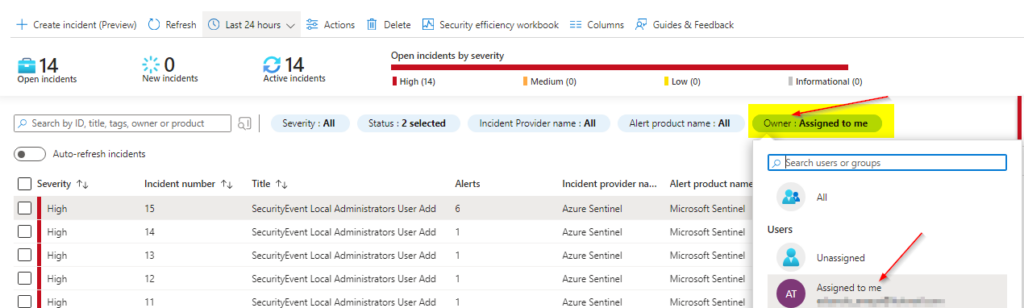
We can select the Owner tab and select “Assigned to me” in order to view only incidents assigned to you for further investigation
Select the incident to obtain details on affected entities such username and affected hostname
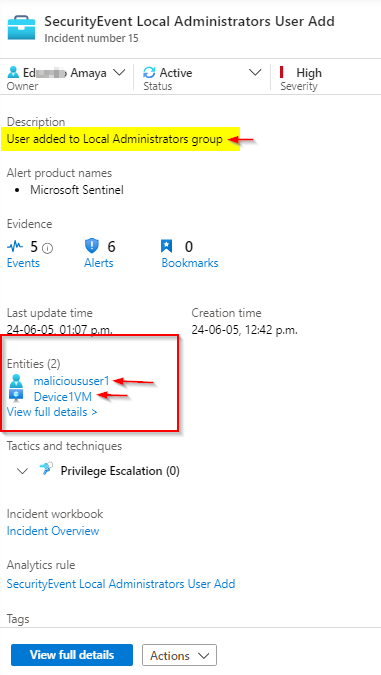
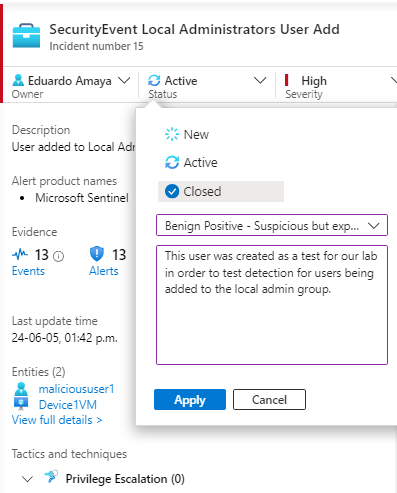
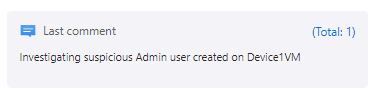
Go to view full details, we will add a comment “Investigating Admin user created on Device1VM”
In this case we know malicioususer1 is just a test user we created for this demo purpose,
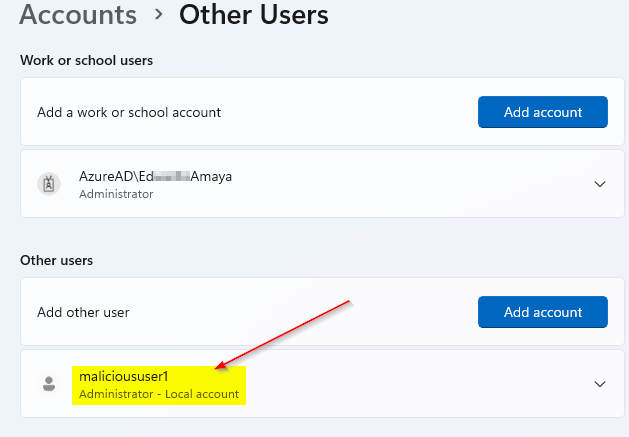
We will go to our affected Windows 10 VM, go to Settings > Account > Other users
Here we can verify that effectively the user “malicioususer1” has been added as an Administrator – local account
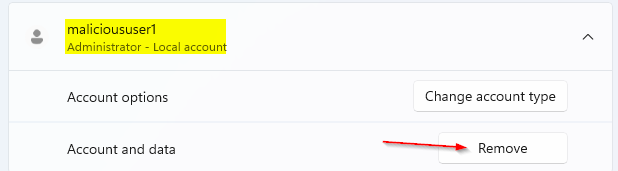
We will remove the account from affected VM
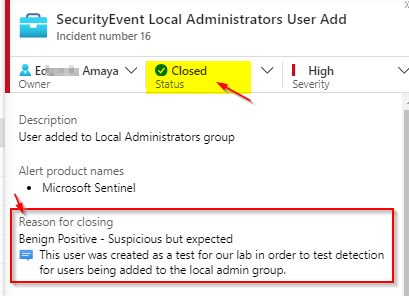
Now that we have removed the suspicious user from our local admin group we can go back to Sentinel and close our Incident with the following: